How to Remove a Door Handle: Complete Step-by-Step Guide
Atelier De LuxeRemoving a door handle might seem daunting if you've never done it before, but with the right tools and approach, it's actually quite straightforward. Whether you're replacing an old handle, updating your home's look, or fixing a broken mechanism, this guide will walk you through every step of the process.
Types of Door Handles You'll Encounter
Before diving into removal, it's important to identify what type of door handle you're dealing with, as the removal process varies slightly for each.
Identifying Your Door Handle Type
Lever handles with visible screws: These have screws that are visible on the rose (the round plate against the door) or backplate.
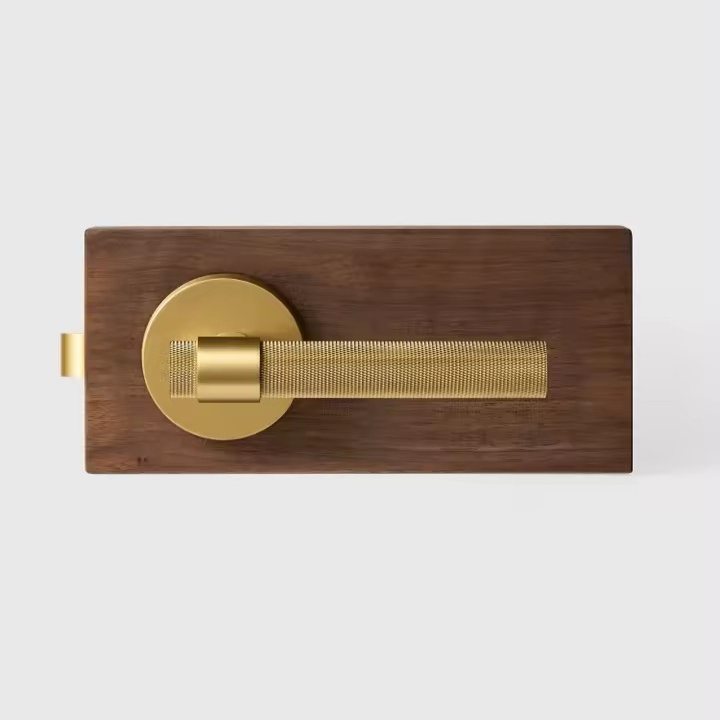
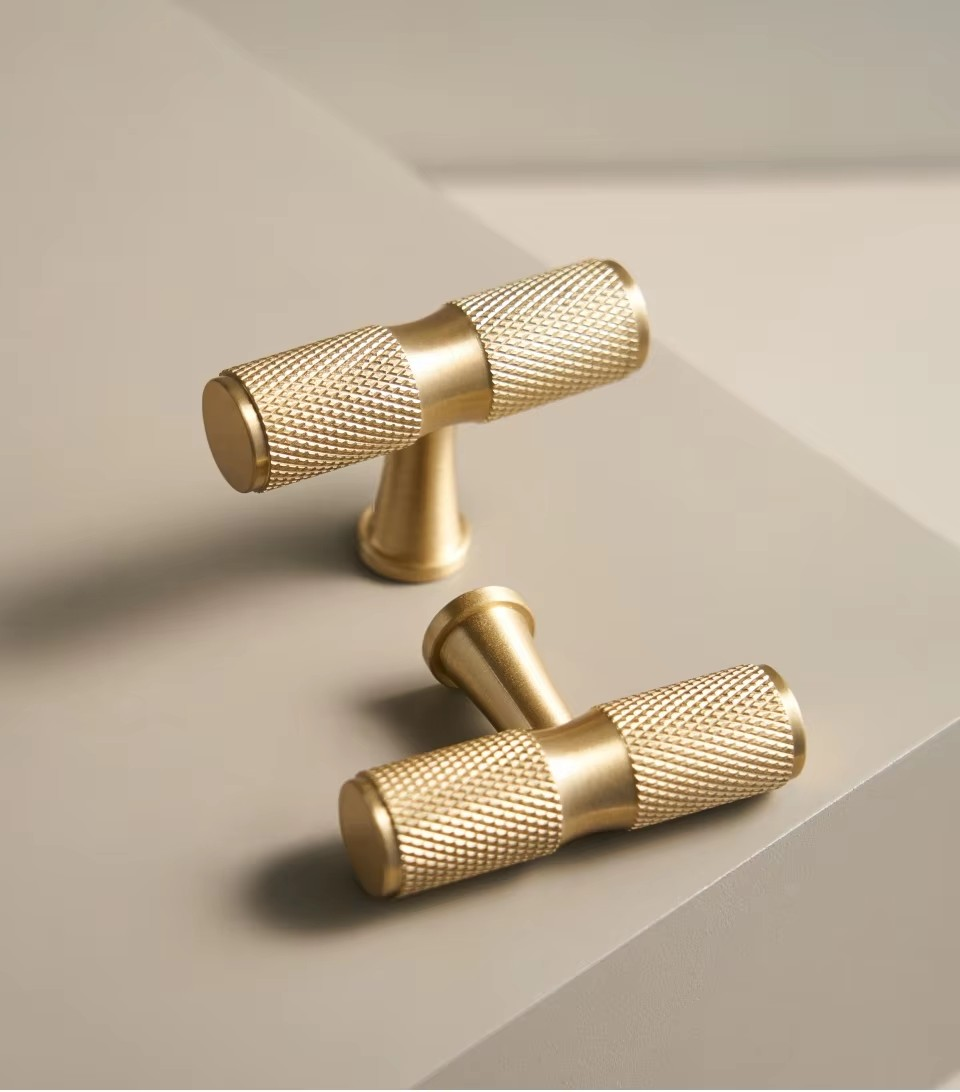
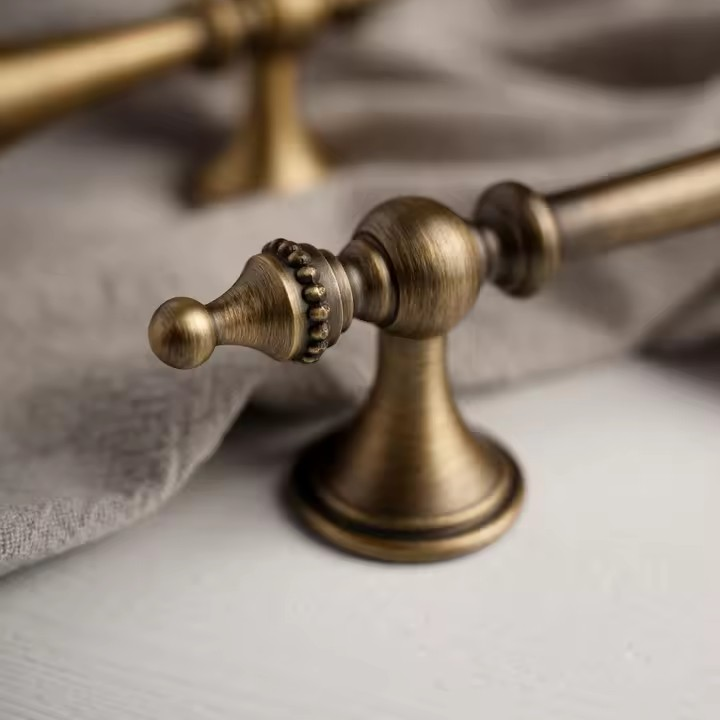
Lever handles with hidden screws: These modern handles often have a small release slot or button hidden underneath the lever or on the neck of the handle.
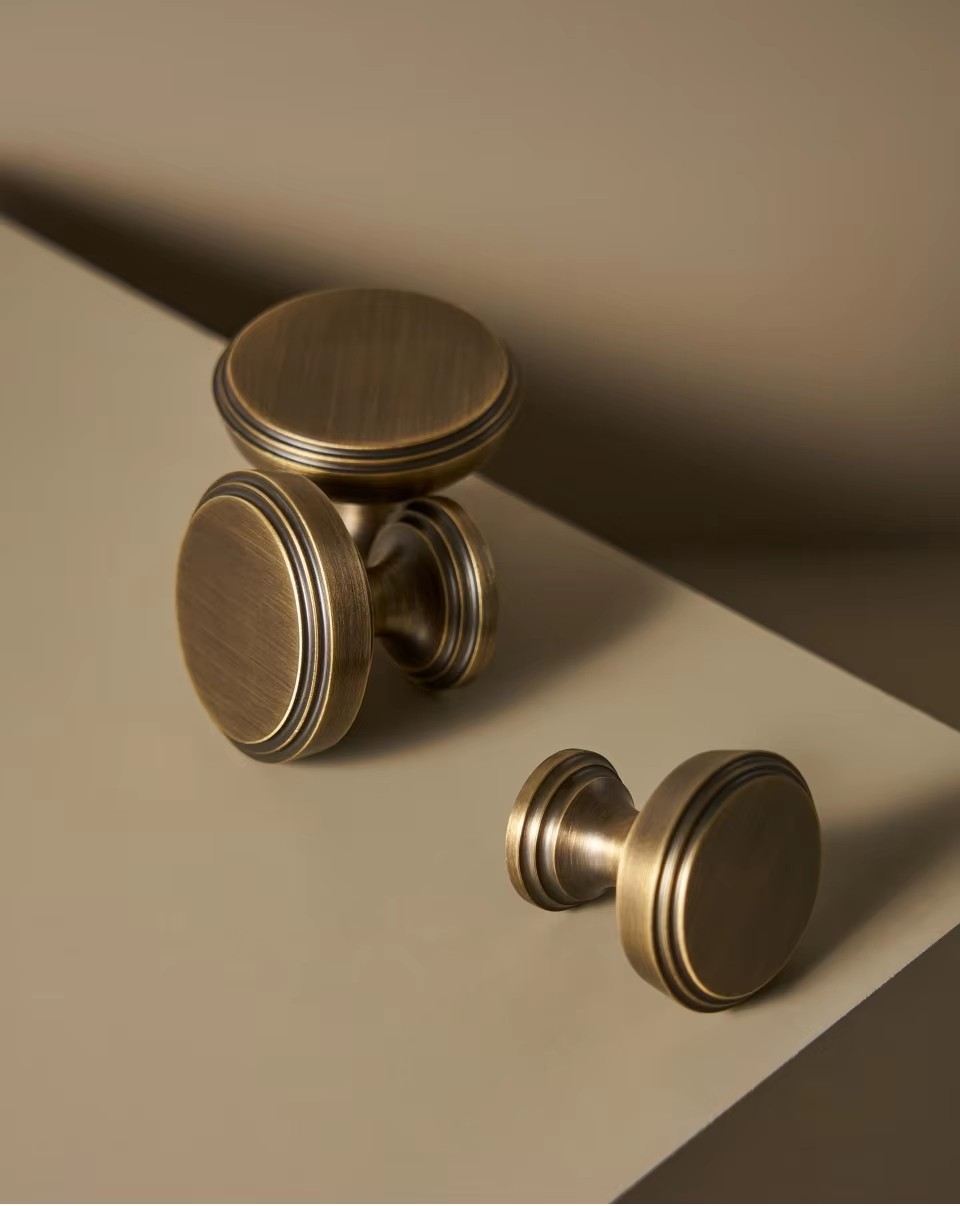
Doorknobs: Traditional doorknobs typically have a small release button or slot on the neck, or visible screws on the rose.
Handles with cover plates: Some handles have decorative cover plates that conceal the mounting screws and must be removed first.
Tools Needed for Door Handle Removal
For most door handle removals, you'll need:
- Flathead screwdriver
- Phillips screwdriver
- Small allen wrench set
- Door wedge or stopper
- Needle-nose pliers (for stubborn parts)
- Hammer (optional, for stuck components)
- WD-40 or similar lubricant (for rusted parts)
Having these tools ready before you start will make the process much smoother.
Removing a Door Handle with Visible Screws
This is the most straightforward type of removal:
-
Stabilize the door: Insert a door wedge underneath to keep it from moving during the removal process.
-
Locate the screws: Most visible screws are on the inner edge of the door (the side facing the door jamb when closed) or on the rose/backplate.
-
Unscrew the mounting screws: Using the appropriate screwdriver, remove all visible screws. Keep them in a small container so they don't get lost.
-
Separate the handle parts: Once the screws are removed, pull the handles away from both sides of the door. They should come apart quite easily now.
-
Remove the latch assembly: The latch mechanism (the part that engages with the door frame) can now be pulled out from the edge of the door.
How to Remove a Door Handle with Hidden Screws
Modern door handles often conceal their fixing screws for aesthetic purposes, making them a bit trickier to remove.
Locating the Hidden Release Mechanism
-
Look for a small slot or hole: Examine the neck of the handle (where it meets the rose) for a tiny hole, slot, or button.
-
Insert your release tool: Depending on what you find:
- For a slot: Insert a small flathead screwdriver
- For a hole: Use an Allen wrench of the appropriate size
- For a push button: Simply press it with your finger or a screwdriver tip
-
Release and pull: While applying pressure to the release mechanism, pull the handle away from the door. The handle should slide off the spindle (the square metal bar that goes through the door).
Removing Round Rose Lever Handles
-
Remove the lever handle: After releasing the locking mechanism, pull the lever handle off both sides of the door.
-
Twist off the rose cover: Many round roses are threaded and simply unscrew counterclockwise. If it doesn't turn, look for a small seam where you can insert a flathead screwdriver to gently pry it off.
-
Remove the mounting screws: Once the rose cover is off, you'll find the mounting screws underneath. Remove these to free the rose base.
-
Extract the latch mechanism: With all parts of the handle removed, you can now pull out the latch from the edge of the door.
Dealing with Stubborn or Stuck Door Handles
Sometimes door handles can be stubborn due to age, paint, or corrosion.
Dealing with Painted-Over Screws
-
Score around the screws: Use a utility knife to carefully cut around the painted-over screw heads.
-
Apply penetrating oil: A few drops of WD-40 or a similar product can help loosen paint and corrosion.
-
Use appropriate screwdriver size: Using a properly fitting screwdriver prevents stripping the screw head.
-
Apply pressure and twist: Press firmly while turning to break the paint seal.
Removing a Door Handle Without Damaging the Door
-
Work slowly: Rushing often leads to scratched doors or stripped screws.
-
Use tape: Apply painter's tape around the handle area to protect the door finish.
-
Avoid excessive force: If something isn't moving, there's likely a release mechanism or screw you've missed.
What to Do if Your Handle Is Stuck
-
Apply lubricant: Spray WD-40 into any visible gaps and let it sit for 15 minutes.
-
Gentle tapping: Light taps with a hammer (cushioned with a cloth) can help break corrosion bonds.
-
Check for paint bridges: Sometimes a thin layer of paint can create a strong bond between moving parts.
-
Wiggle, don't yank: Gentle back-and-forth movement often works better than brute force.
Removing the Latch Mechanism
Once the handle is removed, you'll need to take out the latch mechanism:
-
Locate the faceplate: This is the metal plate visible on the edge of the door where the latch extends.
-
Remove the faceplate screws: There are typically two small screws holding it in place.
-
Pull out the latch assembly: With the faceplate screws removed, the entire latch mechanism should slide out of the door.
-
Inspect the latch hole: This is a good opportunity to clean out any debris or built-up dust in the latch hole.
Preparing for Your New Door Handle

Before installing a new handle, take these steps:
-
Measure the existing hardware: Note the backset (distance from door edge to center of handle), door thickness, and latch height.
-
Clean the door surfaces: Remove any old paint, adhesive, or debris where the new handle will sit.
-
Check the latch hole: Ensure it's the right size for your new latch mechanism.
-
Verify the strike plate: Check if the existing strike plate on the door frame will work with your new handle.

Troubleshooting Common Door Handle Problems
If you encounter issues during removal:
-
Stripped screws: Use a rubber band between the screwdriver and screw head for better grip, or consider a screw extractor tool.
-
Damaged rose or backplate: Be prepared that you might need to patch and repaint this area if the old hardware has left marks.
-
Mismatched holes: If your new hardware doesn't match the hole pattern of the old, you may need to fill old holes and drill new ones.
-
Spindle issues: If the spindle (the square bar connecting the two handles) is stuck, apply lubricant and gently twist while pulling.
By following these steps and tips, you should be able to remove almost any door handle successfully. Remember to work methodically, keep track of all removed parts, and avoid using excessive force that might damage your door or the handle itself.